Introduction
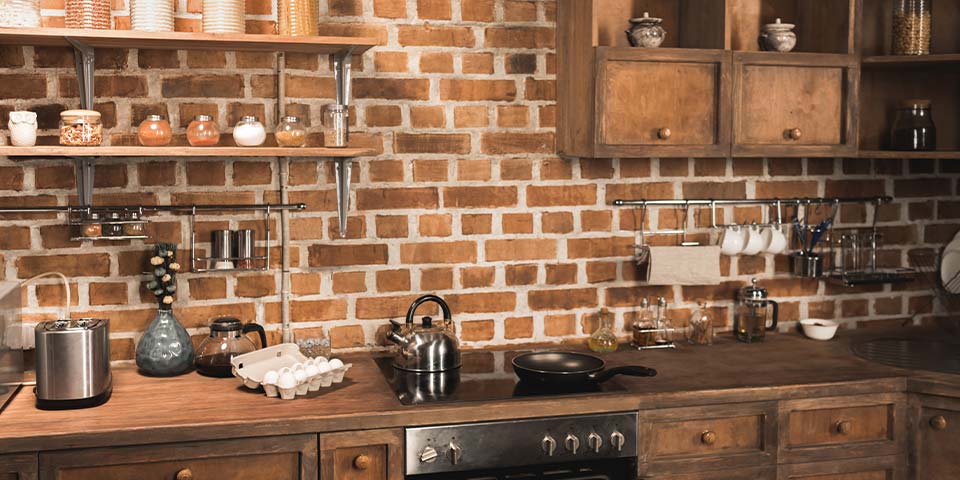
Thin brick, also known as brick veneer, is a popular choice for homeowners looking to add a touch of elegance and durability to their walls. It offers the aesthetic appeal of traditional brick without the added weight and cost. Installing thin brick can be a DIY project, but it requires careful planning and execution to ensure a professional-looking finish.
Materials and Tools
Before you begin, gather the following materials and tools:
- Thin brick veneer
- Mortar mix
- Water
- Bucket
- Mortar trowel
- Grout bag
- Level
- Tape measure
- Chalk line
- Safety glasses
- Work gloves
- Masonry saw (optional)
Step-by-Step Installation Guide
1. Prepare the Wall Surface
Ensure the wall surface is clean, dry, and free of any debris. If the wall is rough or uneven, you may need to apply a leveling compound to create a smooth base for the thin brick.
2. Establish a Starting Point
Use a level and chalk line to mark a horizontal line at the desired height for the first row of thin brick. This will ensure a straight and even installation.
3. Apply Mortar
Mix the mortar according to the manufacturer's instructions. Using a mortar trowel, apply a thin layer of mortar onto the prepared wall surface, following the marked line.
4. Lay the First Row of Brick
Place the first brick at the starting point, pressing it firmly into the mortar. Use a level to ensure the brick is level and plumb.
5. Continue Laying Bricks
Apply mortar to the back of each subsequent brick, ensuring a consistent mortar bed thickness. Place each brick against the previous one, maintaining a consistent spacing between them.
6. Cut Bricks
If necessary, use a masonry saw to cut bricks to fit around corners, windows, and other obstacles. Always wear safety glasses when using a saw.
7. Grout the Joints
Once the mortar has cured, use a grout bag to fill the joints between the bricks. Wipe away any excess grout with a damp cloth.
8. Seal the Thin Brick
For added protection against stains and moisture, apply a sealant to the finished brick wall. This will also enhance the color and sheen of the brick.
Tips for Successful Thin Brick Installation
- Use a damp sponge to keep the mortar and brick clean during installation.
- Allow the mortar to cure completely before applying grout.
- Use a consistent mortar bed thickness for a uniform look.
- Plan your brick layout beforehand to avoid cutting bricks unnecessarily.
- If you are using a large quantity of thin brick, consider hiring a professional installer to ensure a high-quality finish.
Conclusion
Installing thin brick wall is a rewarding DIY project that can dramatically enhance the aesthetic appeal of your home. By following these steps and tips, you can create a beautiful and durable brick wall that will last for years to come.

